How to Customize Submission Notification Emails
Welcome to the tutorial on customizing submission notifications in FormPress. In this step-by-step guide, we will walk you through the process of receiving submission notifications on a different email address than the one you registered with. With FormPress's flexible features, you can easily ensure that your form submissions reach the right inbox. Let's dive in and learn how to customize submission notifications in FormPress.
1. Select Your Form and Access the Editor Page
To begin, log in to your FormPress account and select the form for which you want to customize submission notifications.If you don't have a form yet, you can create a new one.
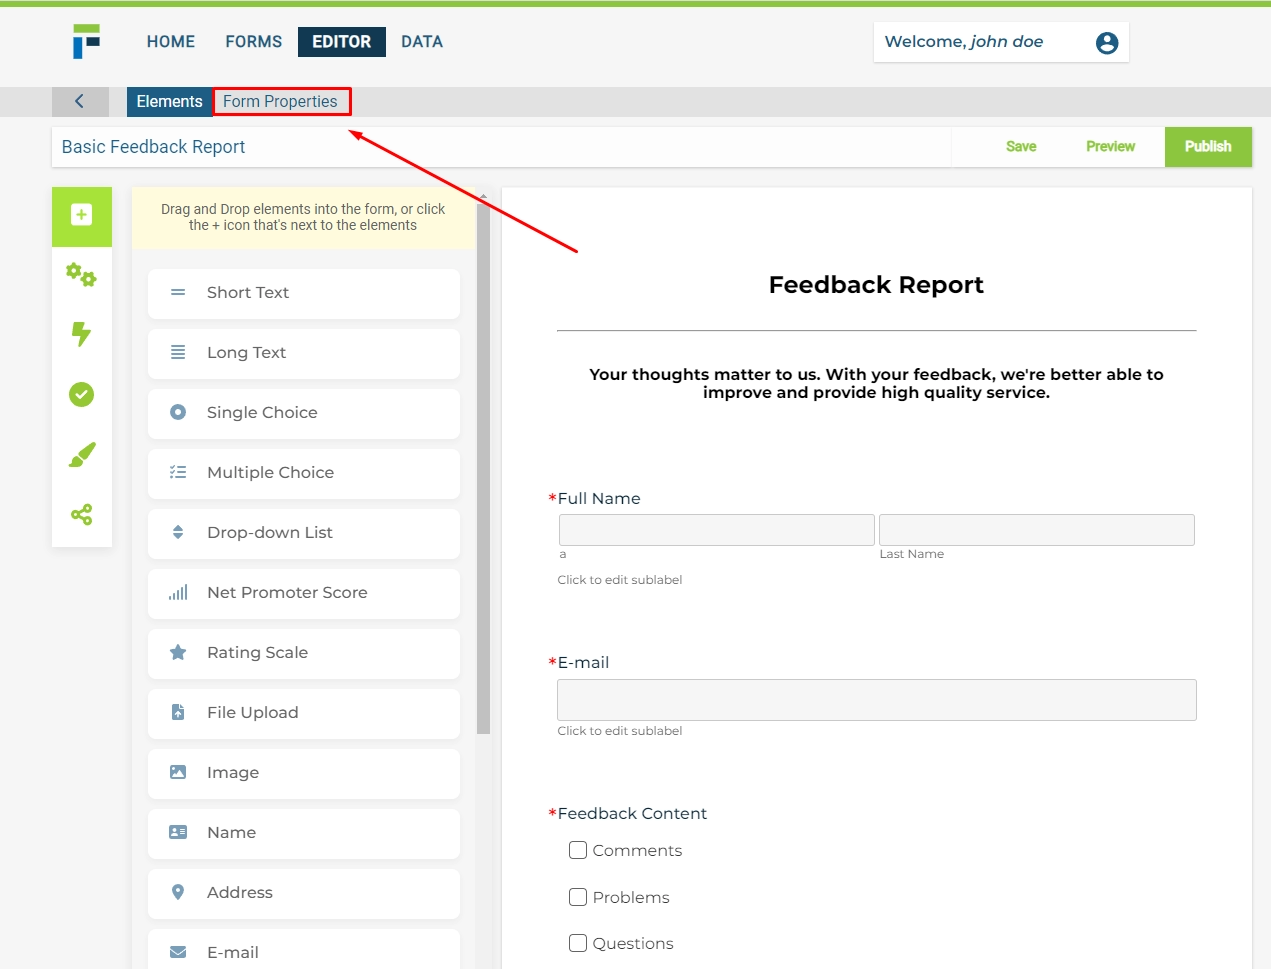
2. Access Form Properties
While on the editor page, find the "Form Properties" tab located in the top-left corner of the form editor. Click on it to access the settings for your form.
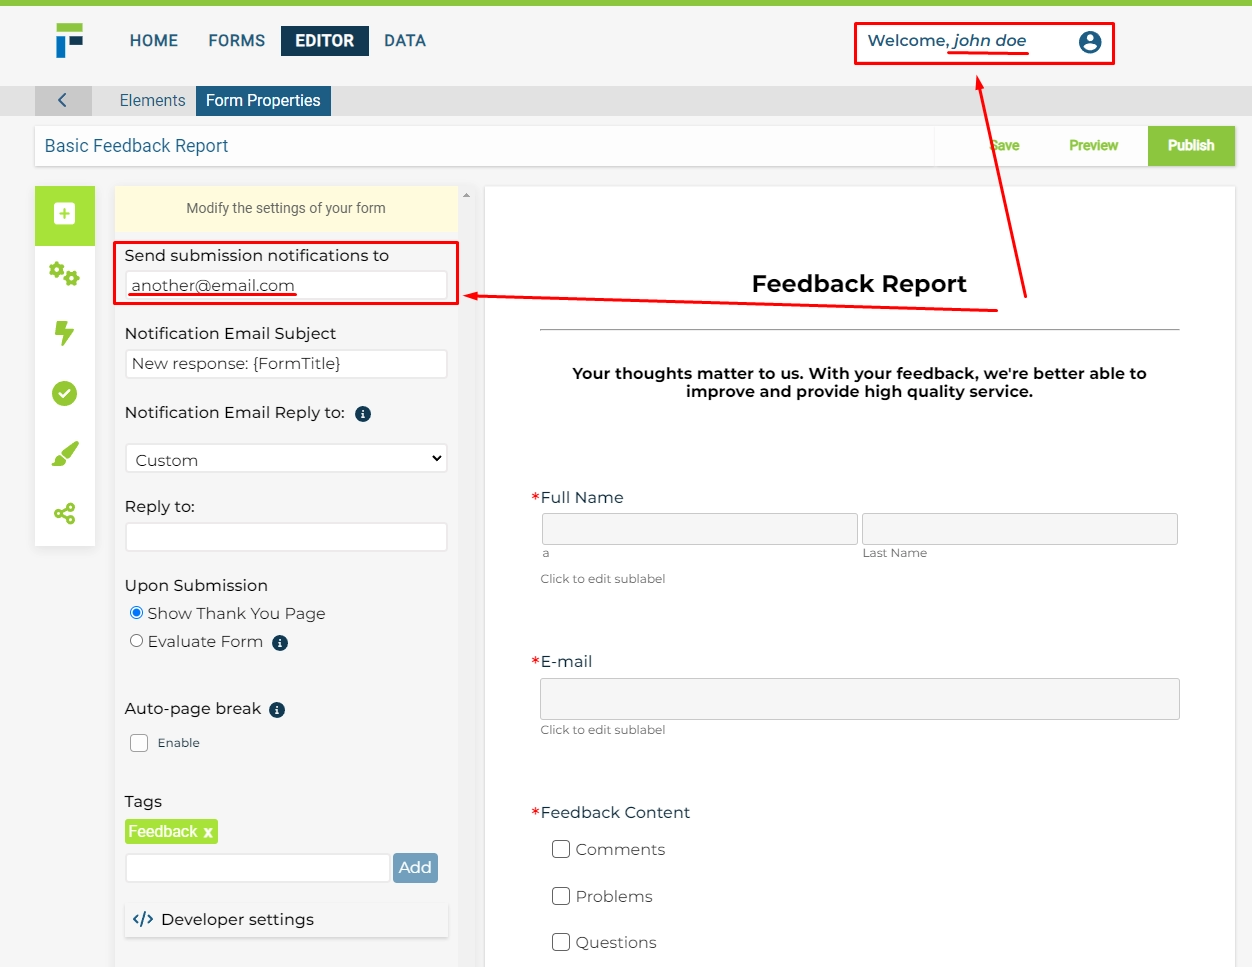
3. Configure Submission Notification Settings
Within the Form Properties section, you'll find a field labeled "Send submission notifications to." By default, your registered email address will be displayed in this field. Remove the default email address and enter the email address where you would like to receive the submission notifications.
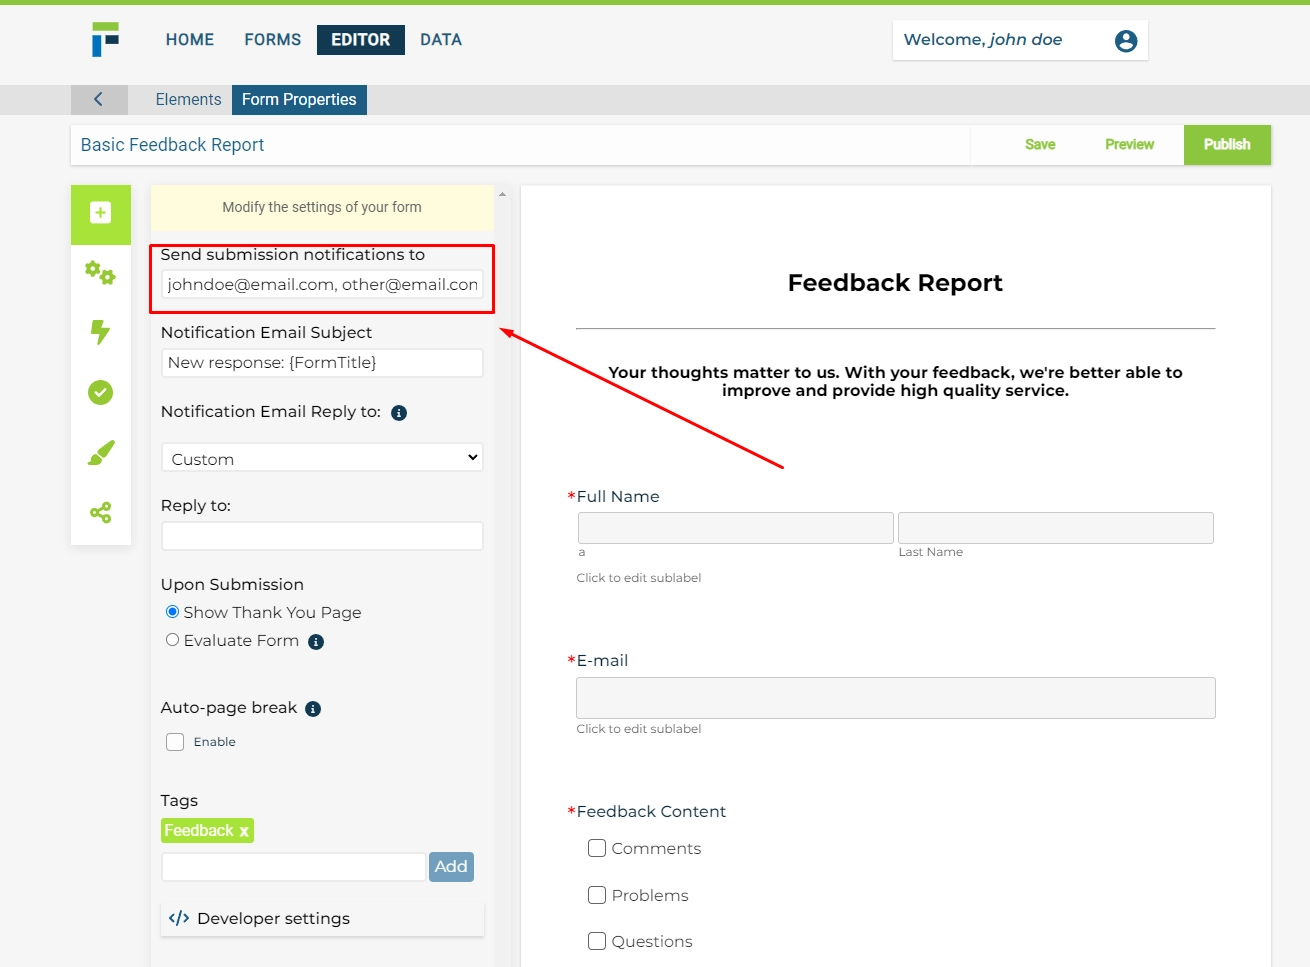
4. Utilize Multiple Email Addresses (Optional)
FormPress goes beyond by offering support for receiving notifications on multiple email addresses. If you need to receive submissions on different email accounts, FormPress makes it effortless. Simply separate the email addresses with commas (,) to designate multiple recipients for submission notifications.
Step 5: Modifying the Notification Email Subject
Customize the subject of your notification emails to suit your preferences. Edit the content within the "Notification Email Subject" field to add a personalized touch to your notification emails.
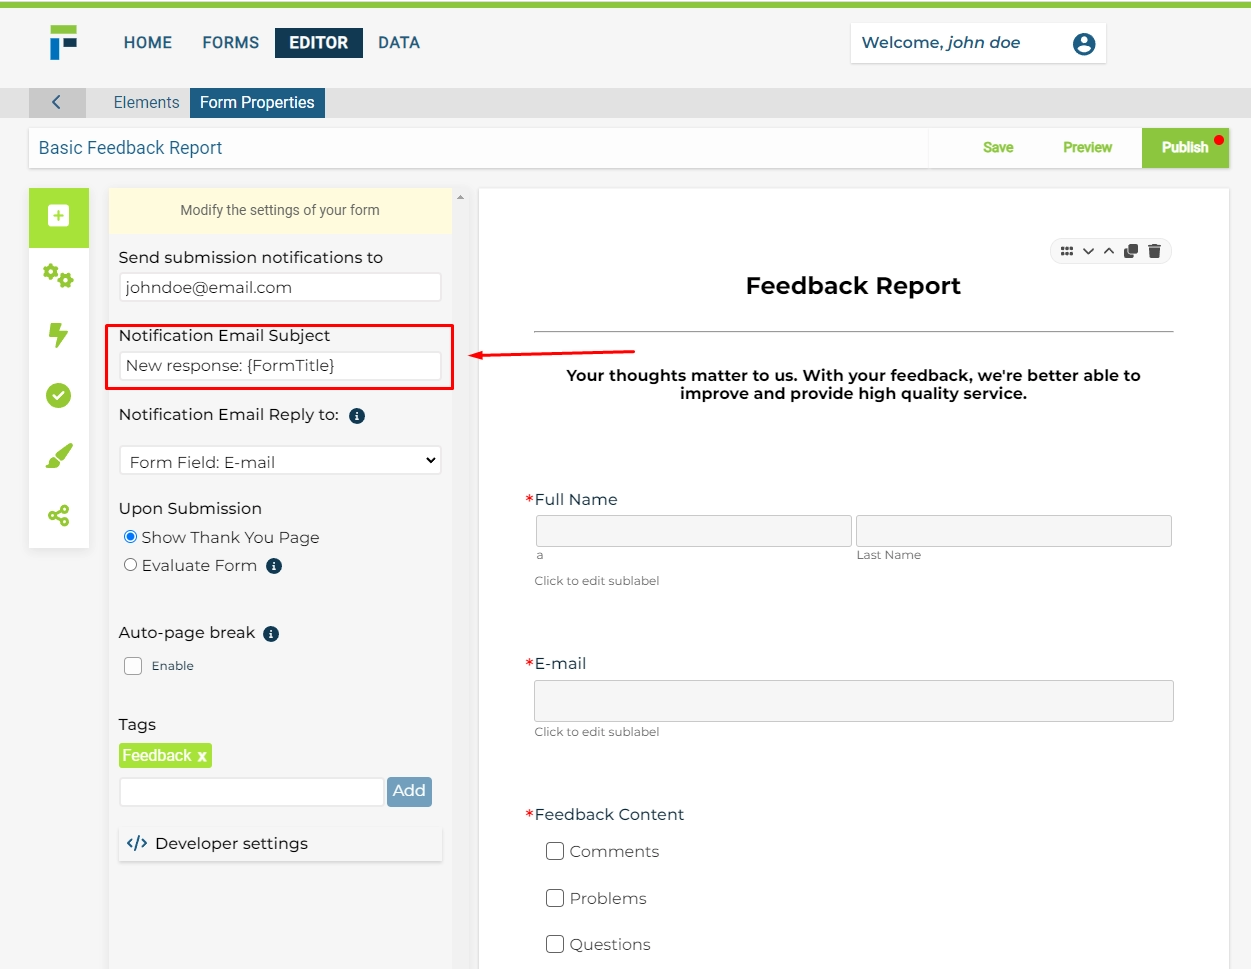
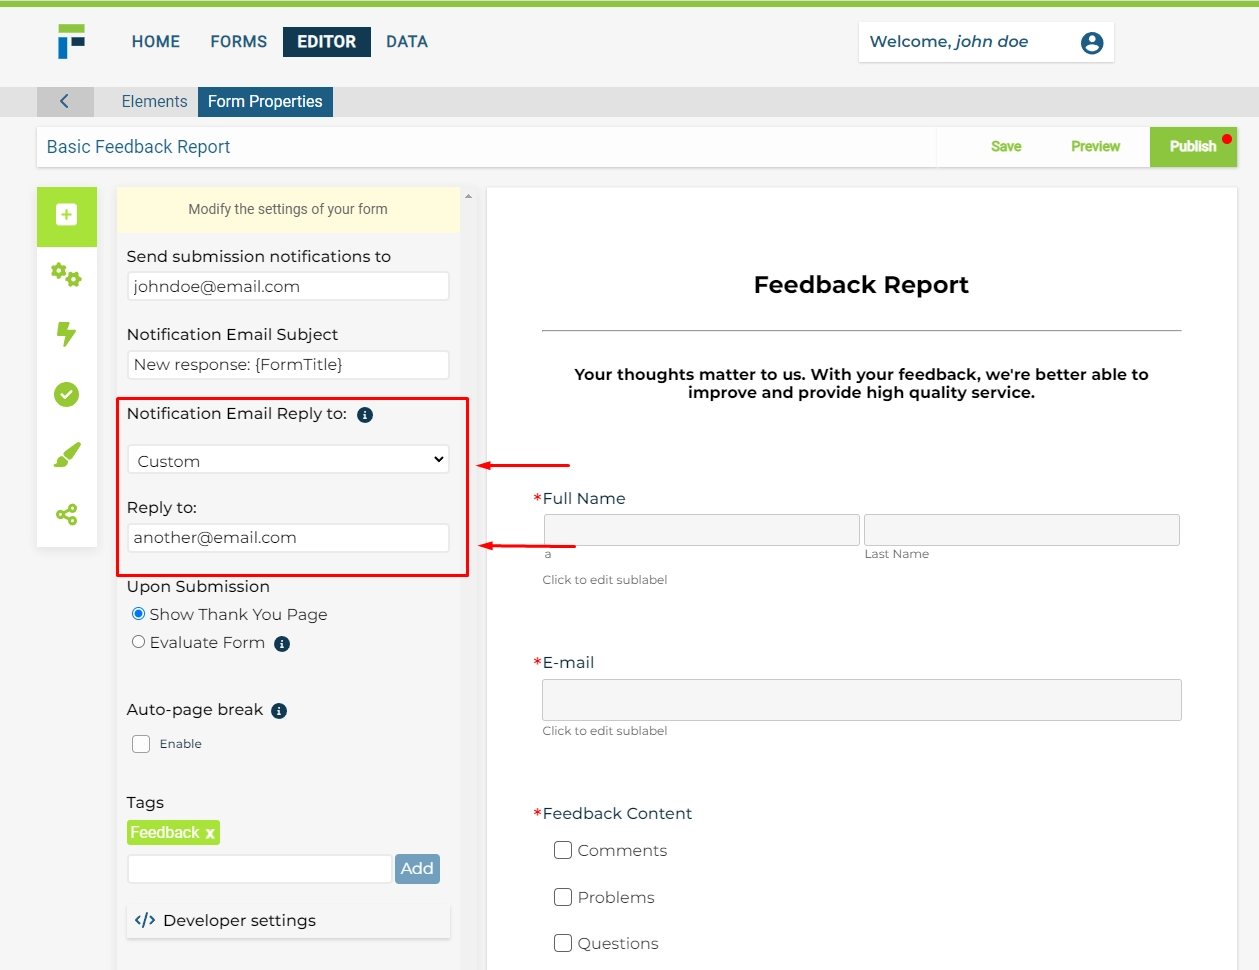
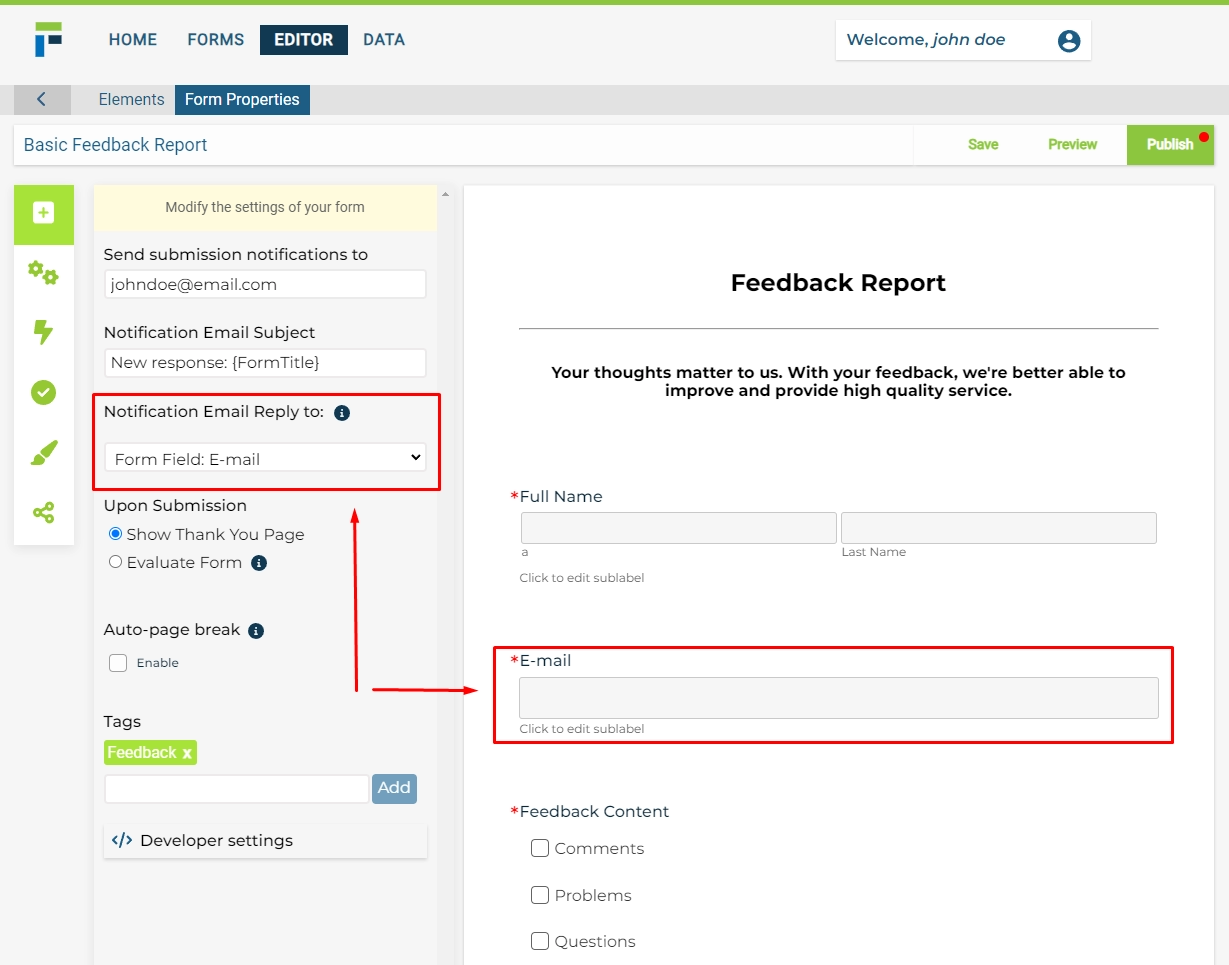
Step 6: Modifying the Notification Email Reply to Address
To ensure proper handling of notification emails, you can specify the email address for replies by entering it into the designated "Notification Email Reply To" field. Moreover, including an "Email" element in your form grants you the added advantage of utilizing the email addresses provided by the form fillers for reply purposes. This way, you can conveniently interact with respondents through their provided emails.
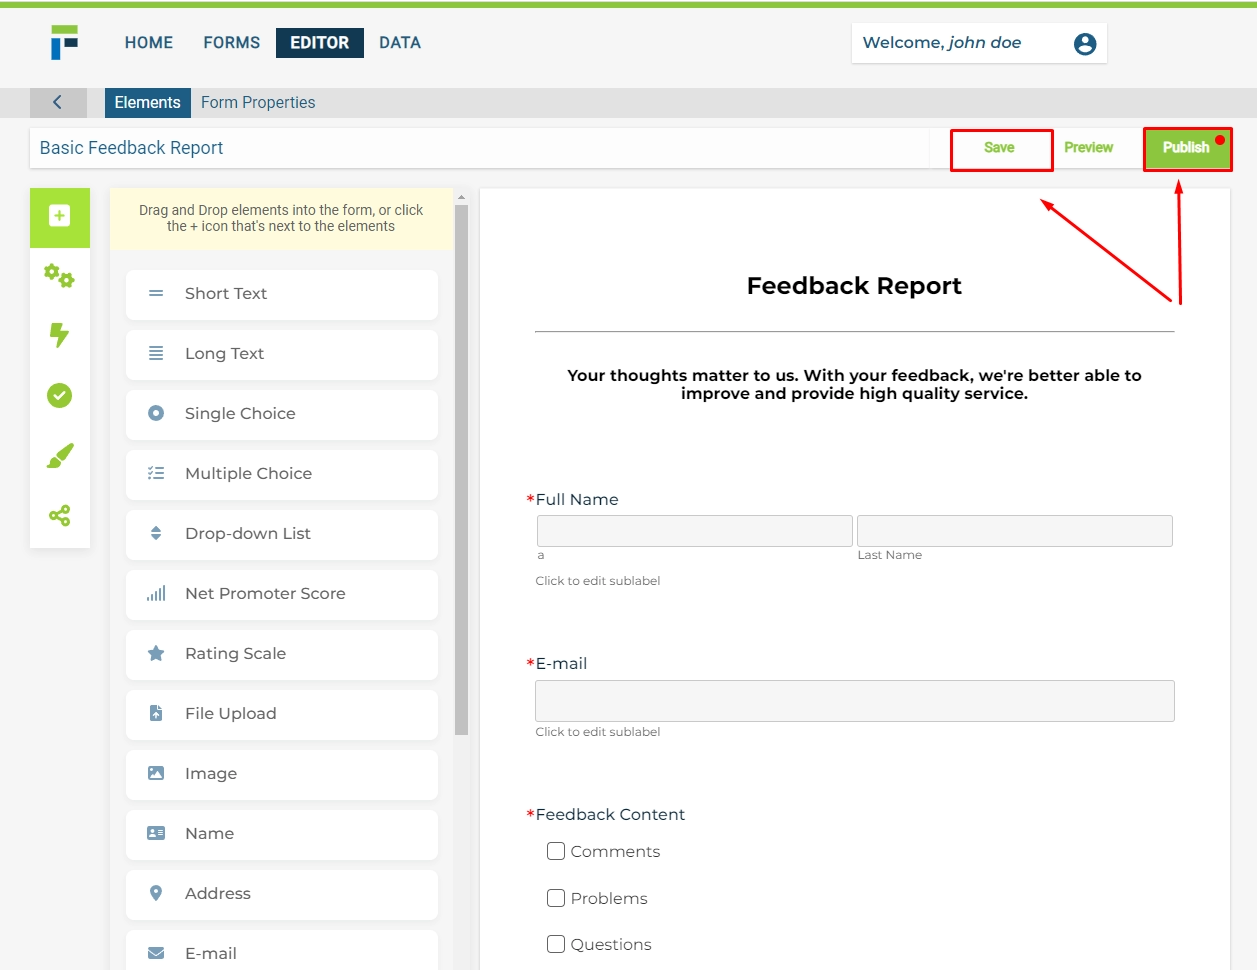
7. Save and Publish Your Form!
Remember to Save your changes and Publish the form to apply the updated submission notification settings. Saving and publishing will ensure that form submissions are directed to the designated email address.
Congratulations!
You have successfully customized submission notifications in FormPress to be received on a different email address. By following this tutorial, you now have the knowledge to ensure that your form submissions reach the right inbox, separate from the email you registered with FormPress. You can also utilize multiple email addresses for notifications if needed. Remember to save and publish your form to apply the changes.
